This procedure describes how to get started with Control-M by setting up your Control-M environment, and start planning your workflows.
If you need to convert existing workflows from your current scheduling tool to Control-M, see Introduction to Control-M Conversion.
Begin
-
Install Control-M/EM, as described in Control-M/Enterprise Manager Installation.
-
Install Control-M/Server, as described in Control-M/Server Installation.
-
Install Agents, as described in Agent Installation.
Agents are Control-M components that are installed on the hosts where your jobs run. Agents submit jobs for execution by the hosts, monitor jobs, perform post-processing analysis of completed jobs, and send the completion status and analysis results back to the server. For more information, see Agents.
-
Install the Plug-ins, as described in Plug-ins.
Plug-ins extend Control-M functionality to third-party applications like Hadoop or SAP, or add functionality like.
-
Define connection profiles, as described in Creating a Centralized Connection Profile.
For your installed Plug-ins to work, you need to define connection profiles that enable Control-M to connect to the required third-party application.
-
Define users and roles, as described in User and Role Authorizations.
Users are granted permissions based on their role. User role definition enables you to limit the Control-M features that a user is authorized to view or change.
-
Create and run your first job workflow, as described in Creating and Running Your First Job Workflow.
-
Analyze and troubleshoot the job workflow, as described in Analyzing and Troubleshooting a Job Workflow.
-
Generate and view reports, as described in Reports.
The Reports feature enables you to create and generate ad hoc reports that provide information about definitions and operational issues in your Control-M environment.
Logging in to Control-M
This procedure describes how to log in to Control-M.
Begin
-
Open a web browser.
-
Type the following URL:
https://server name:port/
-
If a warning message appears that the URL is not secure, validate that the server is trusted and proceed to the URL.
-
Do the following:
-
In the User field, type your username.
Specify the local Control-M user provided to you by the Control-M Administrator or an LDAP user when LDAP integrations is enabled.
-
In the Password field, type your password.
-
-
Click Sign in.
-
Click Restore to restore the open tabs from your last session.
Creating and Running Your First Job Workflow
This procedure describes how to create and run your first job workflow. A job is an execution unit, such as a script or command, that is executed at the operating system level, or part of an external application, such as Hadoop. In this procedure you create two jobs and combine them into a workflow.
Begin
-
Log in to Control-M, as described in Logging in to Control-M.
-
Click Planning to verify you are in the Planning domain.
-
Click
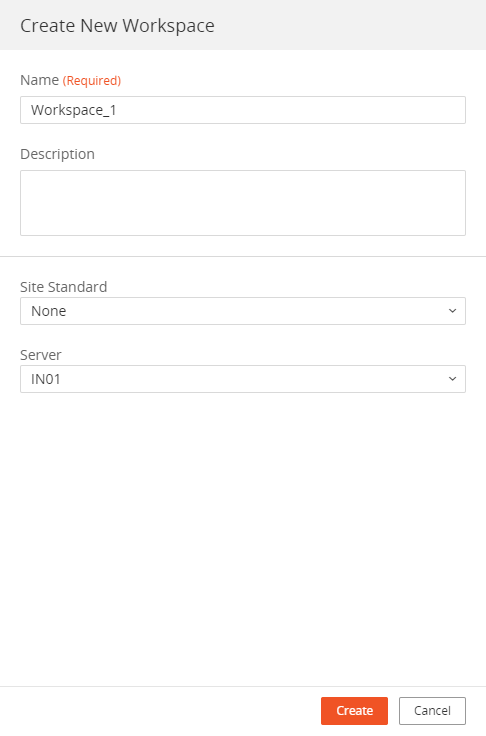
 and select Add new workspace.
The Create New Workspace pane appears.

-
In the Name field, type a meaningful name and click Create.
The new workspace appears with an empty folder. The attributes of the selected folder appear in the right pane.
For more information about other fields in the Create New Workspace pane, see Workspaces.
-
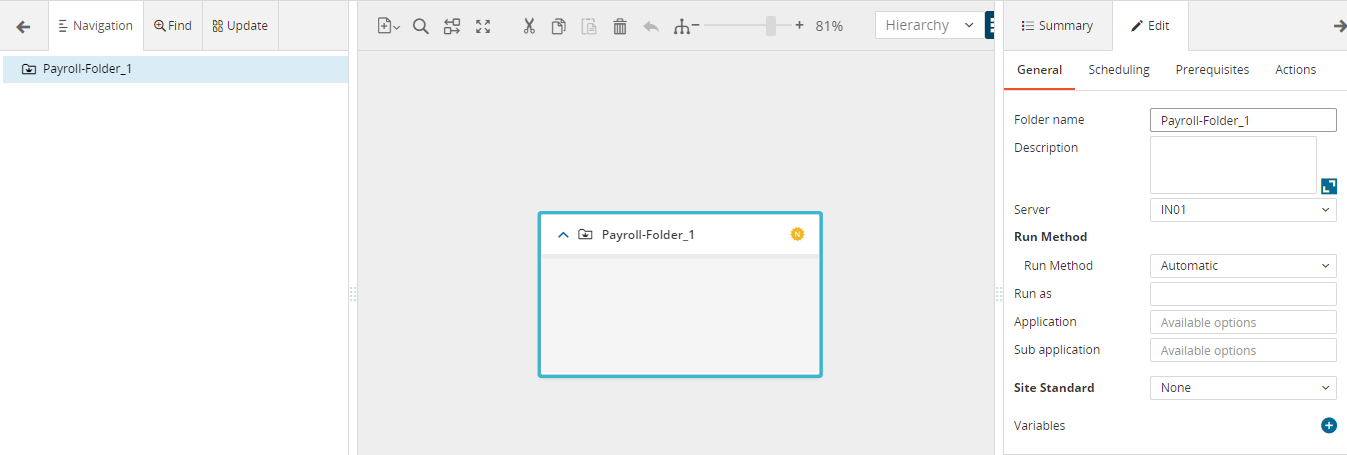
In the Folder Name attribute, type a meaningful name.
For more information about folders and their attributes, see Creating a Folder.
-
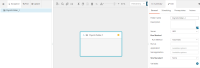
From the
The new job appears in the folder and the attributes of the new job appear in the right pane. The attributes with
 are required. Jobs placed inside a folder inherit the folder attributes.
 The OS job that you added to the folder enables you to run OS commands and scripts for Windows and Linux. Control-M includes other job types which interact with external applications such as Informatica, SAP, and Hadoop. For more information about job types and their attributes, see Job Types.
-
In the right pane, define the following job attributes:
- Job Name: Defines the name of the job.
-
Host/Host group: Defines the name of the Agent host where the job is submitted for execution. This is the same host where you installed the Agent in Getting Started.
-
Run as: Defines the account username of the host that has the authorization to run the job.
-
Type: For OS jobs, you can select Script or a Command; the script can be a separate file or can be written in the job itself (embedded). For this example, select Command, and then in the Command attribute, type the command echo hello.
For a description of the job attributes, see the following:
-
Add another OS job to the folder, as you did in the last two steps. Configure the job as the previous one, but instead of echo hello use the command echo bye.
-
In the Toolbar, click
 to automatically rearrange the jobs in the folder.
 -
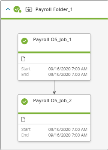
Hover over the bottom of the first job and drag the down arrow to the second job.
This creates a dependency between the jobs that affects the job workflow. The second job does not begin until the first job finishes successfully (also known as the OK state). This directs the workflow sequentially from one job to the next.
-
Click
 and confirm.
The Check In button is now disabled.
The workflow runs automatically according to its scheduling criteria. By default jobs are set to run every day at midnight.
-
Do the following to manually run the job now:
-
In the center pane, select the folder.
-
In the toolbar click

 .
. -
Select Run Selected.
-
In the right pane, review the Run Selected Entities attributes.
-
Click Run.
The workflow runs immediately. For more information about running a job, see Running Jobs or a Workspace.
-
-
Do the following to view the running job in the Monitoring domain:
-
Click Monitoring.
-
Click
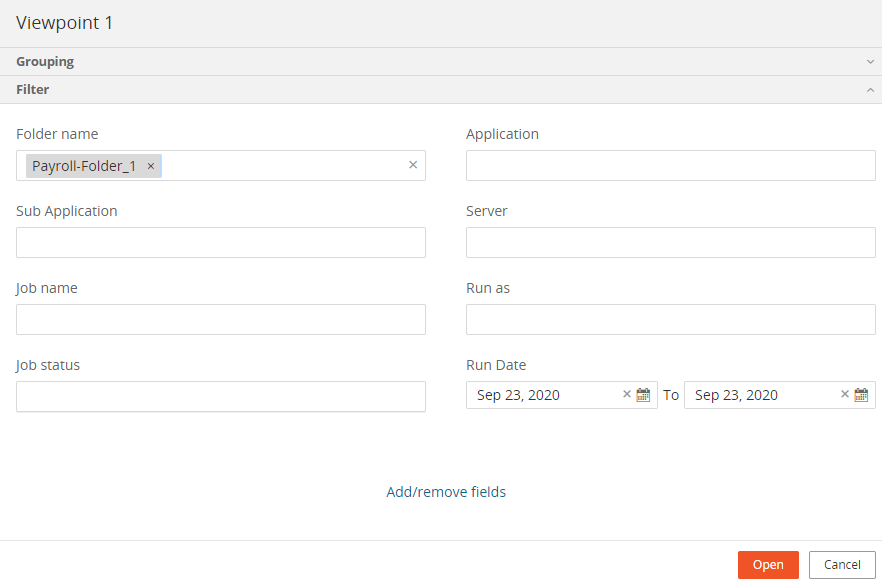
and select New Viewpoint. -
In the Viewpoint parameters select your folder name and today’s date, and click Open.

-
-
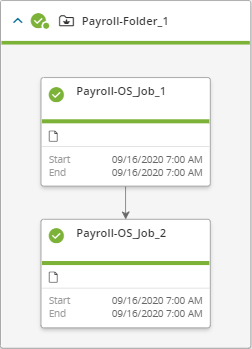
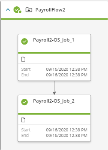
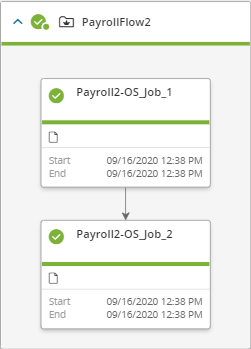
View the color of the jobs.
Jobs that are green, indicate that the jobs completed successfully (OK).
For more information about job status colors, see Job Status.
Analyzing and Troubleshooting a Job Workflow
This procedure describes how to analyze and troubleshoot a workflow. In this procedure you are prompted to create a job workflow that purposely fails, analyze why it failed and fix it.
Begin
-
From the Planning domain, define the following two jobs as described in Creating and Running Your First Job Workflow.
- Job 1 command: define this job with command eco hello (note that eco is not a correct syntax, so the job fails).
- Job 2 command: define this job with command echo bye.
-
Run the jobs and review the results as described in the last few steps of Creating and Running Your First Job Workflow.
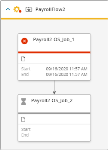
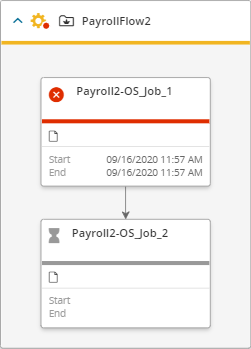
The first job is red, indicating that it ended with the state Not OK. The second job is gray, indicating that it is waiting for input. The status of each job appears in text in the Summary tab in the right pane, such as Ended Not OK for the first job and Wait for Event for the second job. For more information about job status, see Job Status.
-
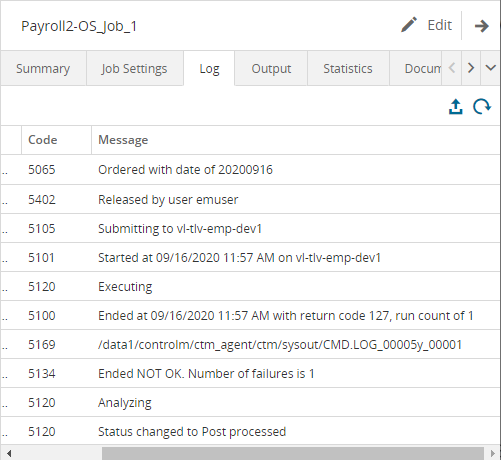
Select the first job and view the Log tab in the right pane.

The log states that the job started executing; this means that the host name and run as attributes were correctly configured. It also indicates that it ended with state NOT OK.
-
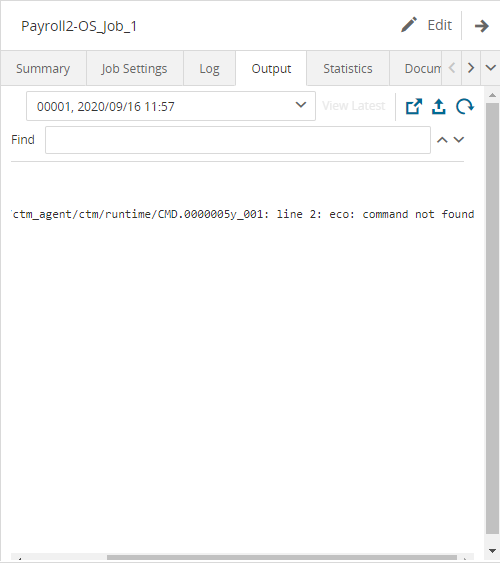
In the right pane, view the Output tab of the first job.
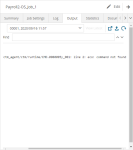
The output shows that the command was not found, indicating that the command syntax must be checked.
-
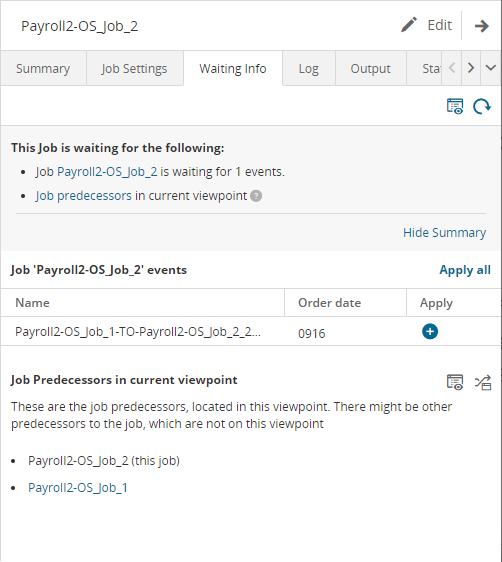
Select the second job and view the Waiting Info tab.
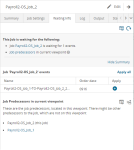
The Waiting Info tab indicates that the second job is waiting for the first job to finish successfully before it starts running. The second job cannot start running until the event is released from the first job. After you fix the mistake in the first job, both jobs can run successfully.
-
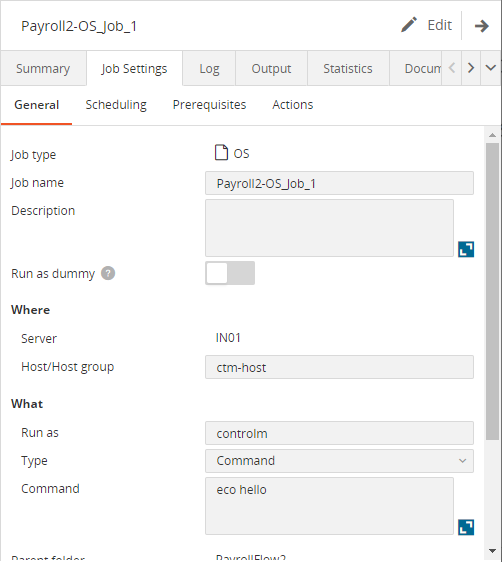
In the right pane of the first job, view the Job Settings tab.

The command syntax is incorrect: eco must be echo
-
In the right pane of the first job, click
 .
. Change eco to echo and then click Save.

The command syntax is now correct.
To verify that the jobs are fixed, you must rerun the first job.
-
Select the first job and then click
 .
. 
Watch as the jobs execute and the colors change to green.
For more information about the actions you can do in the Monitoring domain, see Monitoring.

Changing Your Password
This procedure describes how to change your password.
Before you begin
- Ensure that you have permissions to change your password for a Control-M user. If you do not have permission, contact your Control-M administrator. For LDAP users, change the password through the LDAP interface.
Begin
-
From the Home page, in the upper right corner, from the username drop-down list, select Change Your Password.
The Change Your Password window appears.
-
Do the following:
-
In the Current Password field, type your current password.
-
In the New Password field, type your new password (6-32 characters).
-
In the Confirm Password field, type your new password again to verify it.
-
-
Click Save.
The new password is saved.
Setting User Preferences
This procedure describes how to set user preferences, which enables you to customize items such as your preferred views.
Begin
-
From the username drop-down list, select Preferences.
The Preferences window appears.
-
Set your preferences as required. For more information, see User Preferences.
-
Click Save.
Your user preferences are saved.
You can also access the My Home Page from the user drop-down menu. My Home Page is a customized HTML page that enables you to add your own content, such as procedures or favorite link. Please contact your Control-M Administrator to enable this feature.
User Preferences
The following table describes the user preferences:
|
Preference |
Description |
|---|---|
|
Language |
Determines one of the following user interface languages:
The following appears in English only:
|
|
Warning Dialogs |
Determines that all dialogs display again, if you have previously selected the Do not notify me again checkbox. |
|
User Views |
Determines which user views are used, as described in User Views management. |
|
Planning |
|
|
Auto Save |
|
|
Determines that your Workspace saves automatically. |
|
|
Workspace Default View |
Determines the display of the default workspace view as Tile or List. |
|
E-mail Notification Address |
Defines the email address where notifications are sent. You can define more than one email address separated by commas. |
|
Auto-created Event |
Defines the default event format that is used to create job dependencies, based on one of the following selections:
You can customize and save additional event format selections by replacing the attributes in the { } (curly brackets) with other job, folder, or calendar attributes. |
|
Automatically Delete Event |
Enables you to automatically delete an event after the successor job completes it's execution. |
|
Make Event Name Unique |
Enables you to make each event name unique by adding on an extension to event names that currently exist. |
|
Fix Event Name on Value Changes |
Updates the event name automatically when the source or target property is changed. This only works for new events. |
|
Monitoring |
|
|
Hide Empty SMART folders |
Enables you to hide empty SMART folders in the Job view. |
|
Services Default View |
Defines the default service view as Tile or List after logging in. |
|
Viewpoints Default View |
Defines the default Viewpoint view as Tile or List after logging in. |
|
Archive Search Maximum Results |
Determines the maximum number of search results. |
|
Map Job Node Title |
Enables you to select the information that appears in the job in Map View. Default: job name. |
|
Neighborhood |
|
|
Default Direction |
Determines the default relationship of the neighboring jobs to the selected jobs.
|
|
Default Radius |
Determines the maximum distance of jobs that branch out from the selected job. |
|
Connection Options |
|
|
Automatically Reconnect to Server |
|
|
Determines to automatically reconnect when the connection with the Server stops working. Default status: On |
|
|
Max Connection Retries |
Determines the number of connection attempts that are made automatically before logout. Valid values: 1-20 Default value: 20 |
|
Time Between Retries |
Determines the number of seconds between each connection attempt. Valid values: 1-20 Default value: 20 |
Terminology
This following table lists the old terminology used in previous versions and the new terms:
|
Old |
New |
|---|---|
|
Order |
Run |
|
Control Resources |
Lock Resources |
|
Quantitative Resources |
Resource Pools |
|
Condition |
Event |
|
On-Do Action |
If-Action |
Logging Out of Control-M
This procedure describes how to log out of Control-M.
Begin
-
From the Home page in the upper right corner, from the username drop-down list, select Log Out.
You are now logged out of Control-M. To log-in, see Logging in to Control-M.
 YouTube
 Twitter
 Facebook
 LinkedIn