![]()
![]()
![]()
![]()
|
|
|
|
|
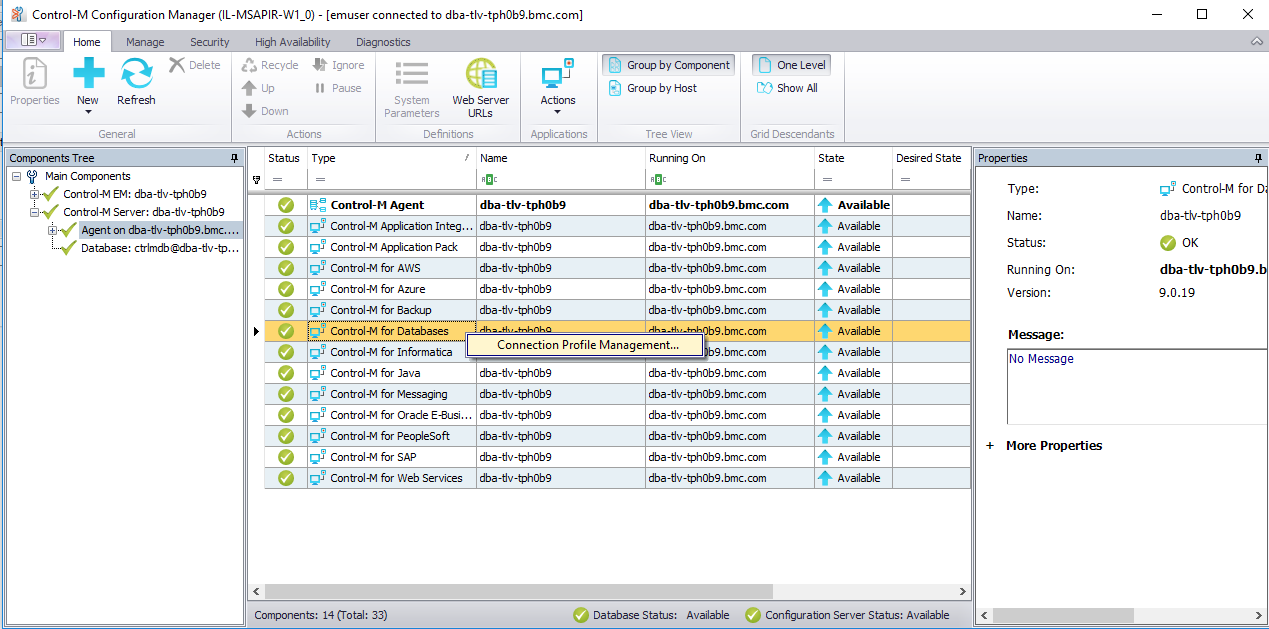
Control-M for Databases has a direct integration to the Databases Process Scheduler and can extract and insert jobs into the Process Request Table(s). The Application Plug-in connection profile, the connection information to access Databases including the userid & password as well as the connection string to Databases, is stored and encrypted in the Control-M database. To create or modify a connection profile, log into the Control-M Configuration Manager (CCM). Once you are connected select Control-M for Databases. Right click and select Connection Profile Management:
To create or modify a connection profile:
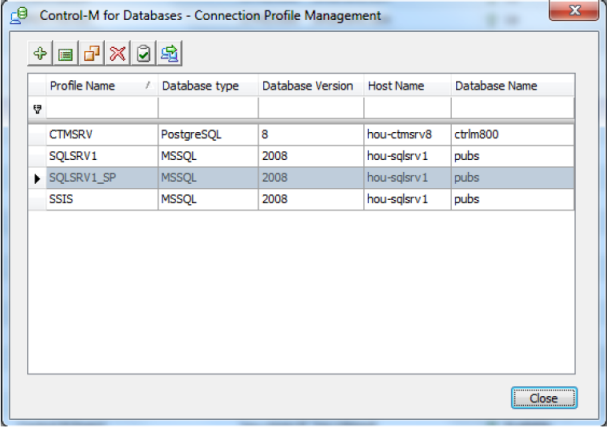
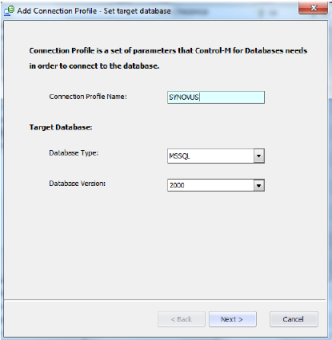
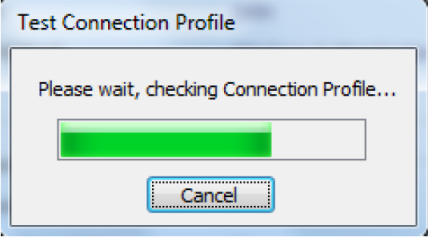
The following window displays all the connection profiles, allows you to add or delete profiles, copy profiles and validate the connection. Click the + to add a new profile or select one to display/modify:
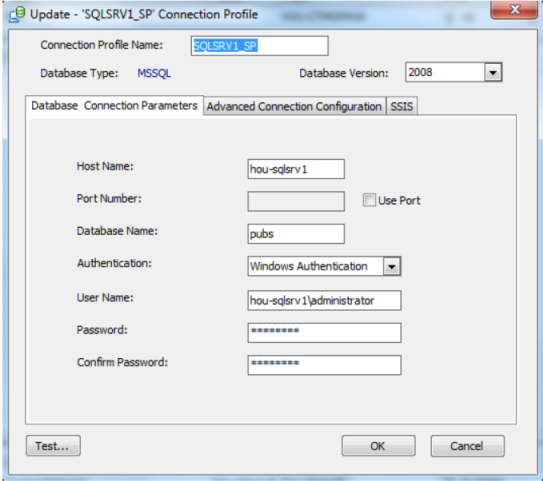
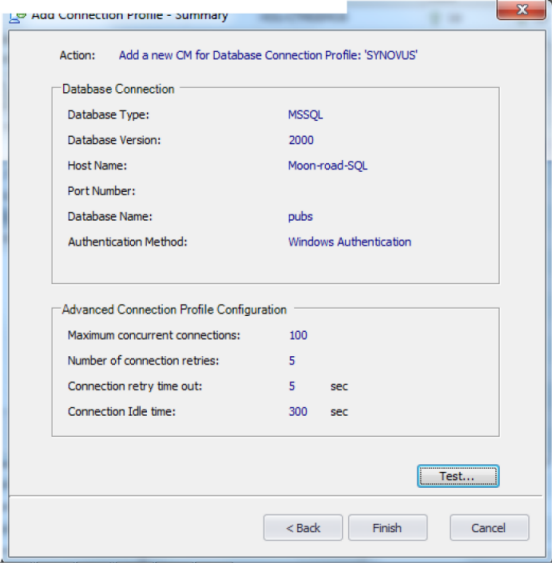
The following connection profile requires the database connection information: the user name, user password and domain password. The application server is displayed at the bottom of the page.
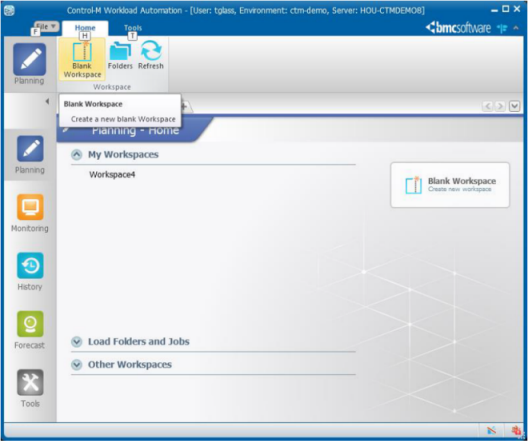
You will see the work you have previously opened and saved and will have the option to open other workflows in Control-M by Selecting Load Folders and Jobs. We’ll cover that in a moment.
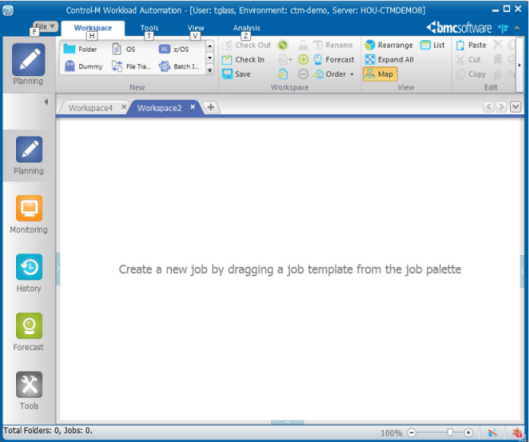
On the ribbon at the top you will see the types of jobs you may use. This list is controlled by role-based security and job type templates. This list has all the job types in it, but you may exclude job types for which you have no need.

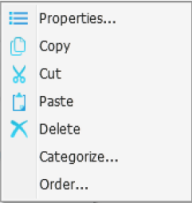
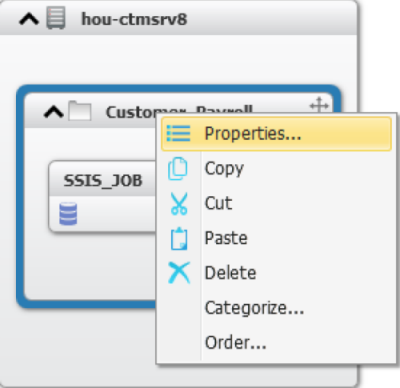
Control-M will create the job and place it in a folder. Folders are logical groupings used to encapsulate workflows for various reasons. Customer-specific, function specific, geographically specific, application specific are some examples of reasons to group jobs. You may also wish to create an application and/or sub-application to further quantify your workflow. Once the job is in the workspace, we can right-click it and add properties for the job:
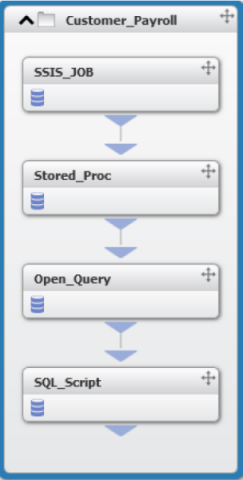
The folder can now be renamed to something indicative of the flow’s function, like Customer_Payroll or some other appropriate name.
Then:
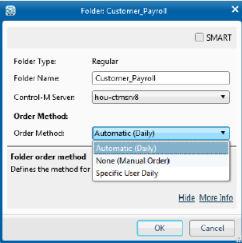
Smart folders – see button in upper right – may have scheduling criteria like RUN DAILY, RUN FRIDAY, RUN WORKDAYS. We will not cover that here; feel free to experiment with various options.
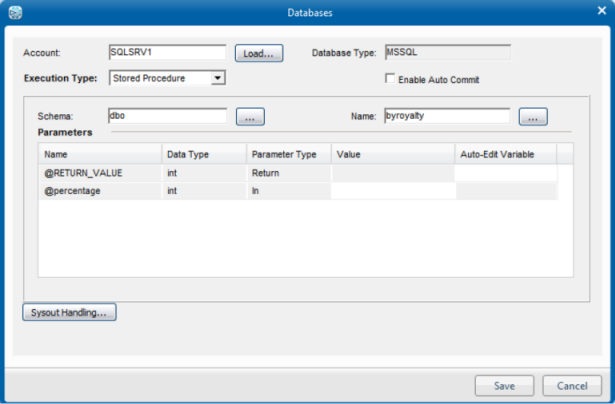
The window below will open and we can begin building the job based on the criteria supplied by our request for from the Databases requester.
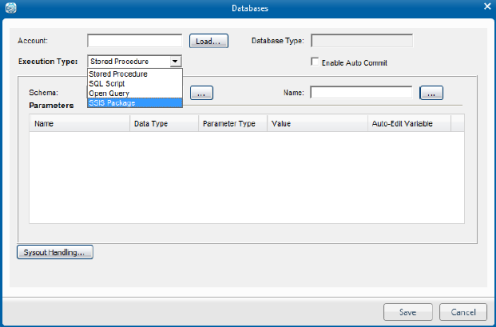
Example 1: Stored procedure job
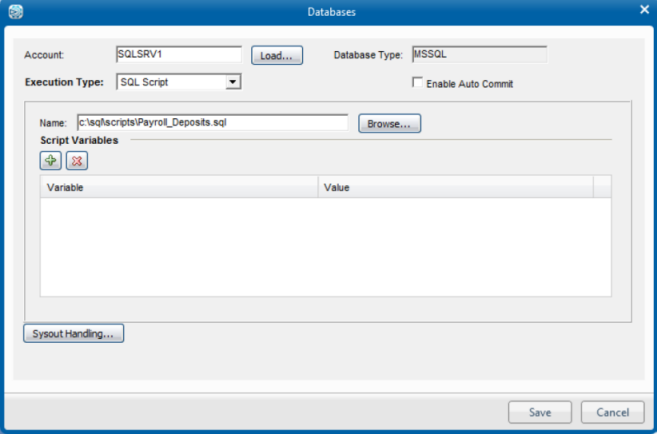
Example 2: SQL Script
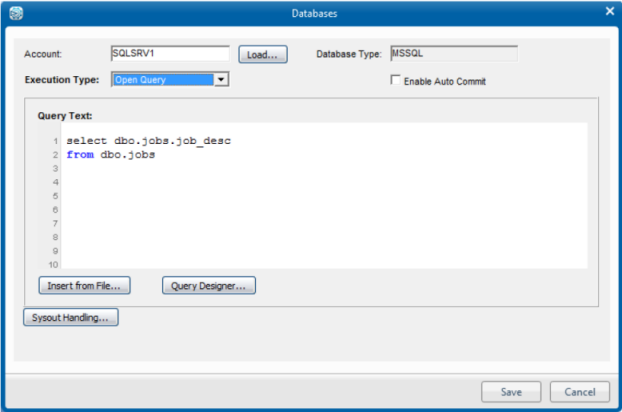
Example 3: Open Query, you may also use the query designer to help with SQL syntax:
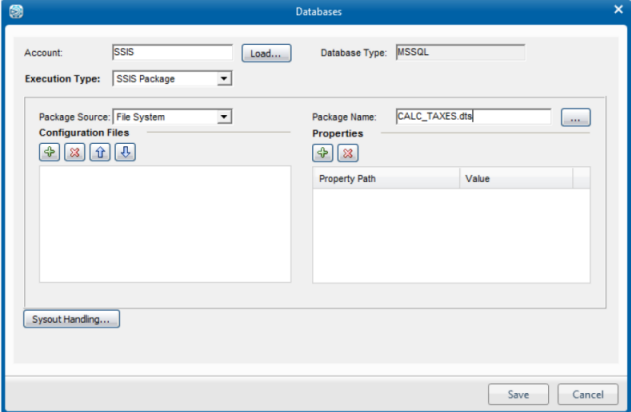
Example 4: Stored Procedure Job:
Save the jobs as a folder as in the example below and check them in. Control-M will validate your job definition as you save it and prompt you for any missing values. Once saved and checked-in, you may run your job(s).
You may also add other job types to your workflow. Control-M supports ERPs for PeopleSoft, Oracle EBS and SAP; Advanced File Transfer for moving files between servers securely; ETL Tools like Informatica, Cognos and DataStage; application servers like JBOSS, Oracle WebLogic, IBM WebSphere and .NET. Control-M Business Process Integration Suite also covers web and message services in addition to the aforementioned application servers. Control-M for Cloud & Virtualization provides integration to VMware, BMC BladeLogic and Amazon EC2 for helping manage workload on cloud and virtual environments. Currently Synovus is licensed for all these options. Speak to the Synovus scheduling team or to your BMC representative for more information.
Parent Topic |